TorchCAM: class activation explorer
TorchCAM provides a minimal yet flexible way to explore the spatial importance of features on your model's classification outputs. Check out the live demo on HuggingFace Spaces 🤗

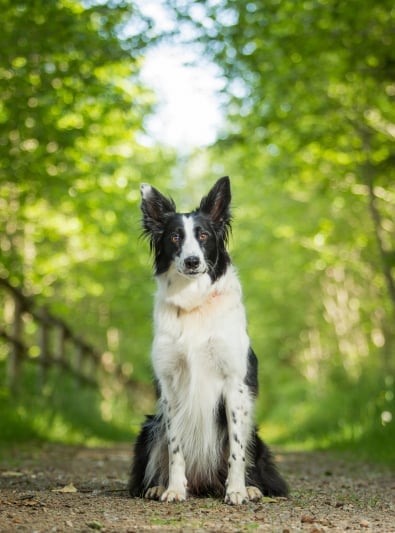
Source: image from woopets (activation maps created with a pretrained Resnet-18)
This project is meant for:
- ⚡ exploration: easily assess the influence of spatial features on classification outputs
- 🐛 debugging: compare predicted and expected classes, and save evidence that humans and AI agents can verify
- 👩🔬 research: quickly implement your own ideas for new CAM methods
Installation
Create and activate a virtual environment and then install TorchCAM:
Check out the installation guide for more options.
Having issues with gradients, hooks, or layer selection? See the troubleshooting guide.
Quick start
To explain one prediction and save the evidence, see Debug one prediction. For full control, use a CAM extractor directly. Get an image and a model:
from urllib.request import urlretrieve
from torchvision.io import decode_image
from torchvision.models import get_model, get_model_weights

# Get a model and an image
weights = get_model_weights("resnet18").DEFAULT
model = get_model("resnet18", weights=weights).eval()
preprocess = weights.transforms()
urlretrieve("https://github.com/pytorch/hub/raw/master/images/dog.jpg", "dog.jpg")
img = decode_image("dog.jpg")

input_tensor = preprocess(img)
Compute the class activation map:
from torchcam.methods import LayerCAM

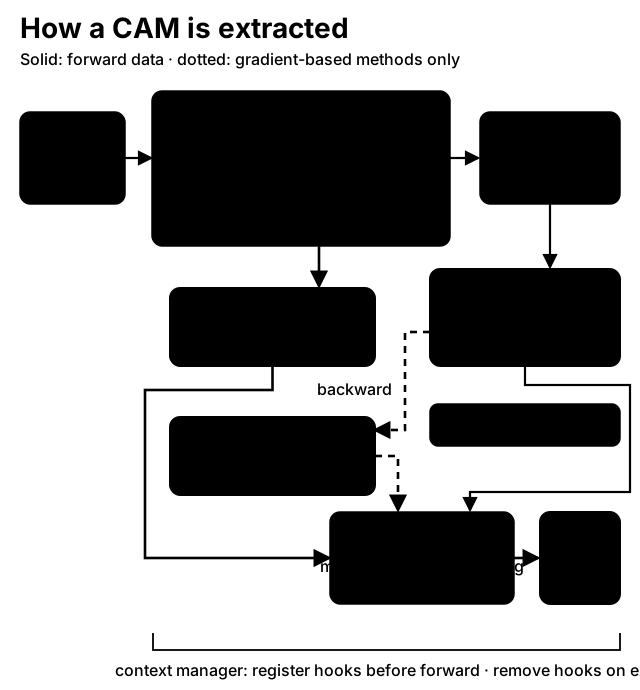
with LayerCAM(model) as cam_extractor:
  out = model(input_tensor.unsqueeze(0))
  # Retrieve the CAM by passing the class index and the model output
  activation_map = cam_extractor(out.squeeze(0).argmax().item(), out)
class_idx (the first argument) is the index in the model's output logits of the class to explain; argmax picks the top prediction, but any class index works. The call returns one activation map per target layer. See Advanced usage for batches, custom models and method selection.
Display it:
import matplotlib.pyplot as plt
from torchvision.transforms.v2.functional import to_pil_image
from torchcam.utils import overlay_mask

# Resize the CAM and overlay it
result = overlay_mask(to_pil_image(img), to_pil_image(activation_map[0].squeeze(0), mode='F'), alpha=0.5)
plt.imshow(result); plt.axis('off'); plt.tight_layout(); plt.show()

CAM zoo
Activation-based methods
- CAM from "Learning Deep Features for Discriminative Localization"
- Score-CAM from "Score-CAM: Score-Weighted Visual Explanations for Convolutional Neural Networks"
- SS-CAM from "SS-CAM: Smoothed Score-CAM for Sharper Visual Feature Localization"
- IS-CAM from "IS-CAM: Integrated Score-CAM for axiomatic-based explanations"
Gradient-based methods
- Grad-CAM from "Grad-CAM: Visual Explanations from Deep Networks via Gradient-based Localization"
- Grad-CAM++ from "Grad-CAM++: Improved Visual Explanations for Deep Convolutional Networks"
- Smooth Grad-CAM++ from "Smooth Grad-CAM++: An Enhanced Inference Level Visualization Technique for Deep Convolutional Neural Network Models"
- X-Grad-CAM from "Axiom-based Grad-CAM: Towards Accurate Visualization and Explanation of CNNs"
- Layer-CAM from "LayerCAM: Exploring Hierarchical Class Activation Maps for Localization"
- Finer-CAM from "Finer-CAM: Spotting the Difference Reveals Finer Details for Visual Explanation"
- LeGrad from "LeGrad: An Explainability Method for Vision Transformers via Feature Formation Sensitivity"
- RefineCAM from "How to Evaluate and Refine your CAM"
Next steps
- Advanced usage — supported model and task boundaries, choosing the target layer, batched inputs, ViT/3D, and picking a method.
- Troubleshooting — fixes for the
requires graderror,NaN/blank maps, and hook issues.